I have decided to show you a costume from beginning to end. All photo's owned by me except for the very last one.........that one is owned by Karen Dietrich who btw owns the costume.
Well here is one of the tassel sets for the costume. Yea it looks a bit un-Kemp, but it did get a good brushing after I showed it to Karen for her approval. Now remember, I show pictures to all customers for their approval BEFORE going on to the next step. Unless the costume or presentation set is a "Surprise" (i.e. birthdays etc.) Karen liked the color combination.
Next up was the breast collar. That wasn't a big deal to show off, but I did show Karen the progress. This photo just shows the "Plain" stage. No decorations or tassels. Kinda boring thing going on. LOL
Next on the list was the bit. Normally I do snaffle bits for costumes(I was taught that either a western curb or a snaffle bit was the ONLY bits used in costume by my aunt). I was shown several pictures that now days, they use either doubles or Pelham bridles. So I decided that this bit style was it. Making this bit brought on some serious eye twitching. And yes I did notice that one was a wee bit bigger than the other........so I changed it out. I think I went through 8 rounds of constant measuring when I finally got the right match.
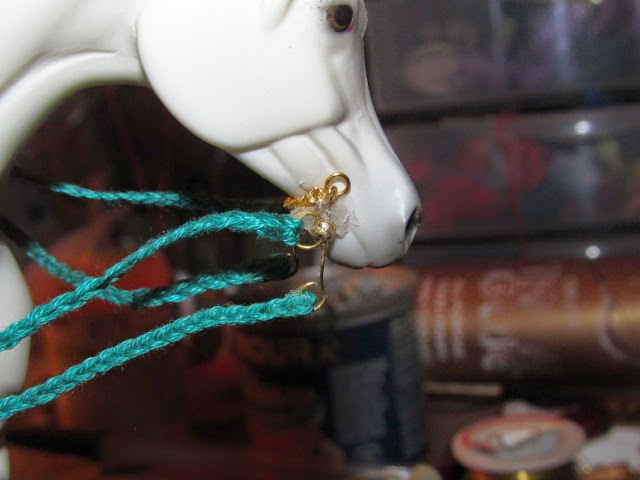
Here we finally have the bit done and the curb chain attached. Surprising that a 1.5mm curb chain(bought it from Fire Mountain Gems) actually was in scale. Oh this is all for a Pebbles model. Plus I did attach one set of reins.
Here is the same bit with both sets of reins attached. Pretty if you ask me.
These two photo's show the workings for the costume. I did go to our local sewing shop and with the help of the owner, we found a perfect match for it. Here I had cut out the drapes(I have templates for them) and was able to line them with thread(not an easy job and messy)
The second photo shows how I laid them out to make sure it would look correctly.
Here I started to attach some of the single tassels, but had to remove them and start over cause I miss measured ALL of them. Talk about something that is aggravating. I had to remake the tassels and re-attach. But I couldn't complain to much. I was doing this work at 2:00 in the morning
I normally have elastic band for traditional sized models when I do costumes for them, but none for any smaller sized models. So I improvised. I cut some off the larger size elastic and made this for the smaller size. Being a smarty pants that I am, I decided to make it more decorative. I attached this gold buckle to the girth. Plus I told Karen NOT to try to use it since it was glued in place...........LOL It would have been funny to see her try. Anyway, I fixed it to where she could "Cinch it up" LOL
Yup that is a hook attached. Yes it is on there backwards, but I did fix that. Simply by turning the hook itself around. Oh and yes I did attach a small piece of material over the "O" ring to protect any models that the costume would be on. Worked!!!
I finally went back to work on the bridle. Got the headstall done and the throat latch done when it was brought to my attention that the bead was just a bit to big. So I removed the bead and put a "Thread" slider on it instead. The brow band was another messy job. But IMO looks cool!!
Here I finally got the saddle and drapes all together and was able to get the correctly measured tassels on the "Butt" drape(as I call it) It was finally starting to look like a costume. Not a jumbled mess.
I had worried about the stirrups when Karen told me that she had some LB/Pebbles sized stirrups. I was like No Way!! Way, she did and sent them to me. In the photo you can see that I lined the saddle and started attaching the 2 tier tassel sets onto the drapes. I was so excited to get the stirrups, I had to attach them immediately.
Now I had finally finished with the tassel attachment. Looks darn good.That is just part of the whole workings.
I decided to put it all together to see what it would look like. I wasn't finished adding tassels to the right side of the collar yet. Yea I got in a hurry to see what it would look like. My bad :D
The photo's below show this costume in it's final stage before I sent it off to Karen to be shown.
You can see all the hard work I put into this cute costume. Had too, Karen scared me into working fast. She had told me that it had to be done for a show last weekend(4/19/14). Well there wasn't a show that weekend, but I did get it done just in time. She showed it this weekend(4/26/14)and I think I will let the photo speak for itself.


No comments:
Post a Comment